Walk down the paint aisle of any home improvement store and you will see stacked boxes promising a showroom garage floor in a single weekend. Yet one of the most common calls we receive across the Hudson Valley and Capital District is from homeowners asking us to grind off a peeling, tire-stained box-store coating. When weighing a DIY epoxy garage floor kit vs professional installation, the real difference is not how carefully you roll the paint on; it is the gap in resin solids content, mechanical surface preparation, sub-slab moisture protection, and topcoat chemistry.
Here is an engineering breakdown of what comes inside a retail DIY kit compared with how our crew builds a multi-layer garage floor coating.
1. Solids Content: Water-Based Retail Kits vs 100% Solids Epoxy
The phrase “100% solids” on a professional specification sheet is a measure of how much actual resin remains on your floor after curing:
- Retail DIY garage floor kits (typically 40% to 50% solids): To make a DIY coating easy for a homeowner to roll out with a long open working time in a warm garage, retail kits are diluted with water or volatile solvents. As the floor dries, 50% to 60% of the wet film evaporates into the air. That evaporation leaves behind a thin, porous film (often only 2 to 3 mils dry) with microscopic pinholes where water vapor evaporated out.
- Professional 100% solids MVB epoxy base: Our flake epoxy flooring and quartz epoxy flooring systems start with a two-component 100% solids moisture vapor barrier (MVB) epoxy base coat (used on every garage and basement slab we coat, unless the concrete is brand new with radiant heat or an under-slab plastic vapor barrier). Because 100% solids epoxy contains no water or evaporating solvents, every drop we roll onto the diamond-ground concrete stays on the slab and cures through chemical cross-linking into a dense, high-build barrier.
2. Surface Prep: Citric Acid Wash vs Mechanical Diamond Grinding
No coating can outlast the bond between the primer and the concrete slab. This is where DIY kits face their biggest handicap:
- The DIY acid-etch packet: Box kits typically include a pouch of mild citric acid crystals that you dissolve in a watering can, scrub onto the slab, and hose out into the driveway. Acid cannot cut through oil drips, silicone tire-shine residue, or curing compounds, and on dense power-troweled concrete it barely roughens the surface. Worse yet, hosing the floor down saturates the concrete capillaries with gallons of water right before you try to seal the slab.
- Mechanical diamond grinding and flush crack repair: Our crew never uses acid or water to prep a garage floor. Instead, we dry-grind every square foot of the slab using heavy planetary diamond grinders connected to industrial dust extractors. Diamond grinding mills off weak surface paste, strips old paint, and opens clean concrete pores so the base coat can lock in mechanically. We then fill cracks and salt pits with a fast-curing two-part flexible epoxy crack filler that sets hard in minutes and moves with the slab, and we diamond grind every repair flush before priming.
3. Moisture and Temperature Testing Before Coating
A retail box kit cannot tell you whether your concrete slab is carrying ground moisture or whether the slab is cold enough to stall the chemical cure.
During every Next Level Epoxy estimate, we test the slab with a digital moisture meter to measure sub-slab dampness. In spring and fall, we also check the concrete with a thermal temperature gun to confirm the slab is above 40 degrees F before any resin is mixed. Pairing those on-site tests with our 100% solids MVB epoxy base coat prevents the upward vapor blisters that lift thin water-based DIY films from underneath.
4. Broadcast Density and the Clear Topcoat Layer
Most DIY kits include a small bag of decorative color chips that you toss by the pinch onto a wet roller lane, often leaving bare paint between sparse clusters of flakes and no clear topcoat at all (or a thin clear epoxy pouch that yellows near the garage door).
On our professional installations, each layer serves a dedicated role:
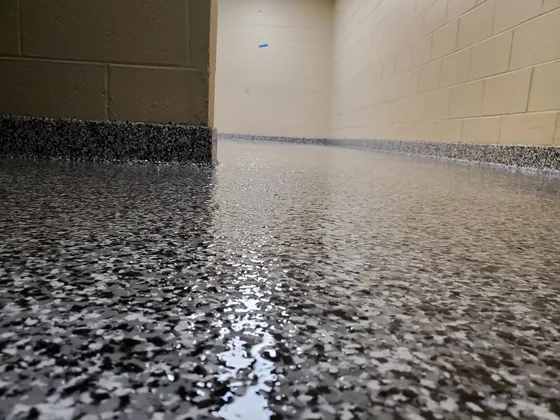
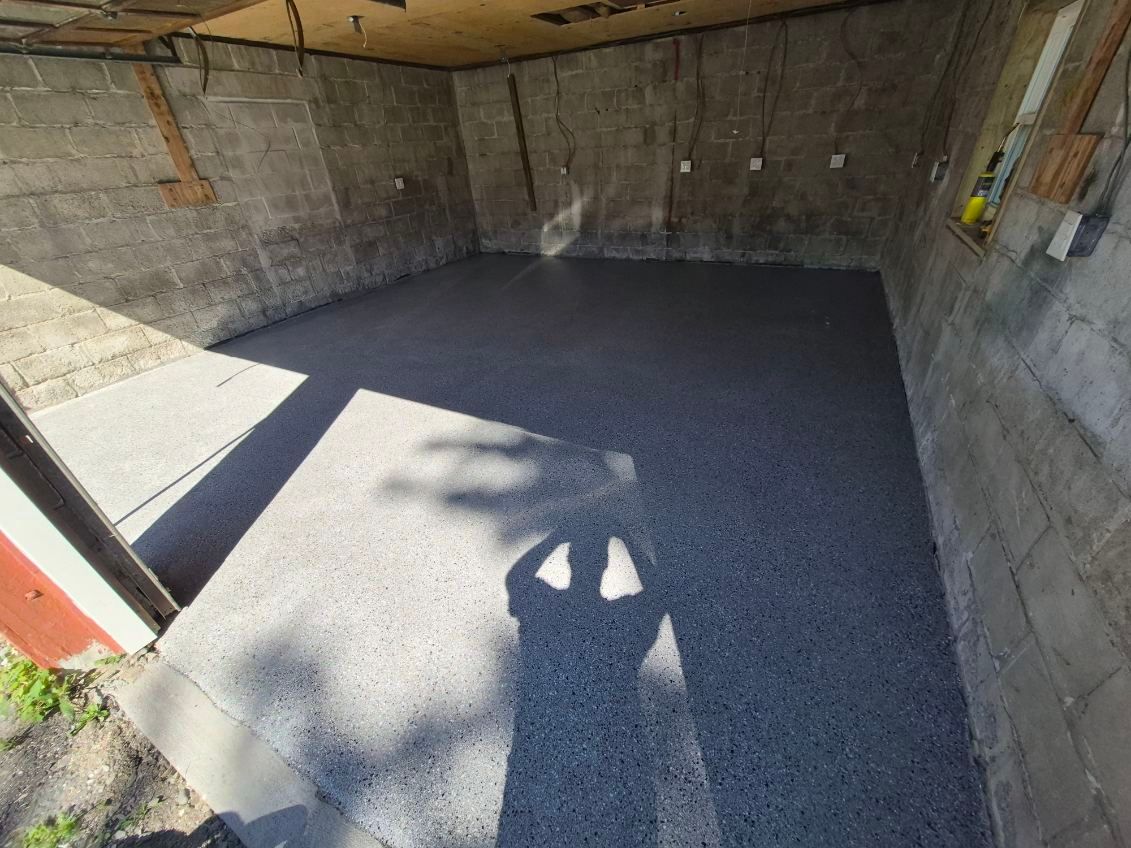
- Full broadcast for thickness and grip: We broadcast vinyl flakes or colored quartz granules into the 100% solids MVB epoxy base to create uniform coverage, hides flush-ground slab repairs, and adds built-in underfoot texture.
- Clear UV-stable polyaspartic topcoat: We finish every flake and quartz floor with a clear polyaspartic topcoat (never exposed epoxy) because polyaspartic stays flexible with the concrete slab and will not yellow or amber in sunlight near open garage doors. Hot-tire rated polyaspartic options keep hot highway tires from pulling at the finish, and we can add fine aluminum oxide to the topcoat for extra wet-weather traction.
- Solid-color and metallic alternatives: When a customer chooses a solid-color floor (two to three coats of 100% solids epoxy), we seal it with a protective urethane topcoat with optional traction aggregate. When a customer chooses a custom metallic floor, we seal it with a clear polyurea topcoat for a glass-like high-gloss finish.
- Real cure timelines: Flake and quartz installations take 2 to 3 days minimum on site (metallic and solid color take 4 to 5 days minimum; a faster-drying one-day option is possible in certain situations), followed by 24 hours for light foot traffic, 48 hours for light items, and 72 hours before parking vehicles.
Get an On-Site Estimate Before You Spend a Weekend Prepping Concrete
We install residential and commercial garage floors across Greene County, Albany County, Columbia County, Schoharie County, Ulster County, and Dutchess County. Whether you are starting with bare concrete or need an old peeling DIY kit ground off and redone right, request a free quote for an on-site moisture test and finish consultation.